Installing click-lock vinyl planks over tile can seem daunting. However, with the right approach, it becomes a manageable task. Renowned flooring expert John Smith emphasizes, "Proper preparation and technique are key to a successful installation." This advice rings true as the process involves understanding the interaction between materials.
When considering how to install click-lock vinyl planks over tile, it’s crucial to assess the condition of your tiled surface. Make sure there are no cracks or uneven spots. These imperfections can impact the final look and durability of your new flooring. Using a level can help identify issues.
Additionally, take time to choose the right underlayment. It offers insulation and noise reduction. Choosing poorly can lead to regrets later. Remember, while the process may seem straightforward, paying attention to details can make all the difference. Your floor is a long-term investment; get it right the first time.
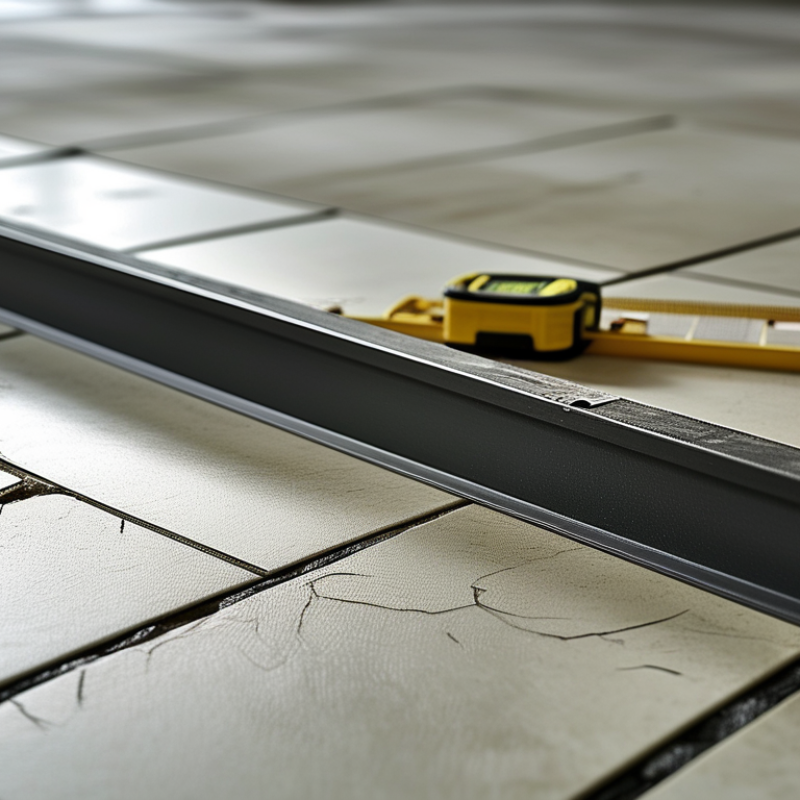
Click lock vinyl planks offer a convenient flooring solution. Their design allows easy installation without glue or nails. In fact, industry reports show that vinyl flooring can reduce installation time by 50% compared to traditional options. This makes it an attractive choice for DIY homeowners and professionals alike. With the right tools, laying planks over tile can be swift and straightforward, with minimal mess involved.
Understanding the features of click lock vinyl is essential. The planks typically have a core structure that enhances durability. This structure is often made from high-density fiberboard or other composite materials, providing both strength and comfort underfoot. Reports from flooring experts indicate that vinyl tiles can resist moisture effectively, making them suitable for areas like kitchens and bathrooms. However, consumers should be cautious about the subfloor condition. Uneven surfaces can lead to gaps and eventual wear over time.
The thickness of the planks also plays a crucial role in performance. Standard thickness ranges from 4mm to 8mm, with thicker options often offering more stability. Research shows that thicker vinyl planks tend to have better sound absorption, which is an important aspect for multi-story homes. If the underlying tile is not perfectly level, thin planks may not conceal the imperfections well. It’s vital to assess the existing floor thoroughly before installation to avoid future issues.
Preparing your tile floor for the installation of click lock vinyl planks is crucial. Begin by thoroughly cleaning the tile surface. Remove all debris, dust, and grime. A vacuum suitable for hard surfaces works well. Following that, mop the area with a mild cleaner and warm water. This step ensures proper adhesion and a smooth surface for your new flooring.
Inspect the tiles for cracks or loose pieces. Repair any damaged areas before proceeding. Use an appropriate filler for cracks. This helps create an even foundation. A rough surface can trap moisture and lead to problems later. After repairs, let everything dry completely.
Consider the height of your flooring. If your vinyl planks are thick, ensure doorways will not be blocked. You may need to trim the bottoms of doors. Finally, ensure the tile floor is level. Use a level tool to check for any uneven spots. Any imperfections can affect the installation. Taking time at this stage can save you headaches in the future. Getting it right matters.
Before starting your project on installing click lock vinyl planks over tile, gathering the right tools and materials is crucial. Think about your workspace. Ensure it is clean and well-lit. You will need a tape measure, utility knife, and a straight edge for accurate cuts. A rubber mallet can help ensure the planks lock tightly, while a pull bar is essential for fitting the last few planks snugly against the wall.
Don't forget safety gear. Safety glasses and knee pads can make a difference during installation. You will also need a level to check the floor. If your tile surface isn't perfectly even, it may affect the final look. Your material list should include the vinyl planks and an underlayment if required. This can help with sound absorption and warmth. Remember, some vinyl planks can expand or contract. Store them in a climate-controlled area before installation to avoid surprises.
Installing click lock vinyl planks over tile can be straightforward. This method provides a stunning look while saving time and effort. According to industry reports, vinyl flooring is projected to reach a market value of over $50 billion by 2026. Some homeowners still feel uncertain about the installation process, particularly regarding their existing tile floors.
Begin by preparing the tile surface. Ensure it is clean, dry, and free from debris. Use a floor leveler on any uneven areas. This preparation is crucial, as an uneven base will lead to problems down the line. A recent study highlighted that improper installation can reduce the lifespan of flooring by up to 30%.
Tips: Use a foam underlayment for additional cushioning. This can improve comfort and provide sound insulation. Also, remember to acclimate your planks in the room for at least 48 hours. This helps prevent expansion or contraction after installation. Lastly, take your time aligning planks properly. Misalignment may lead to visible seams and reduce aesthetic appeal. Addressing these points will ensure a more reliable and visually pleasing result.
| Step | Description | Tools Needed | Estimated Time |
|---|---|---|---|
| 1 | Prepare the surface by cleaning the tile floor thoroughly. | Broom, mop | 30 minutes |
| 2 | Measure the area to determine how many planks you'll need. | Tape measure, calculator | 15 minutes |
| 3 | Lay down an underlayment if required, making sure it is smooth. | Underlayment, utility knife | 30 minutes |
| 4 | Start laying the vinyl planks, ensuring to click them together correctly. | Vinyl planks, tapping block | 2-3 hours |
| 5 | Cut the last piece to fit if necessary, making sure to leave expansion gaps. | Utility knife, square | 1 hour |
| 6 | Finish by installing transition strips where necessary. | Transition strips, adhesive or screws | 30 minutes |
Installing Click Lock vinyl planks over tile is an excellent choice for enhancing your home. However, the journey doesn’t end once the planks are down. Sealing and maintaining your new floor is crucial to ensuring its longevity and aesthetic appeal.
Regular maintenance is essential. Industry reports indicate that 80% of flooring issues stem from inadequate care. Dust and grime can accumulate on the surface, leading to wear. A simple weekly sweep and an occasional damp mop can preserve shine and prevent scratches. Pay attention to high-traffic areas; they tend to wear out faster. Use floor mats at entrances to minimize dirt and moisture.
Tips for sealing: opt for a water-based polyurethane sealant. It provides strong protection against stains and scratches. Apply the sealant in thin layers, allowing plenty of drying time. Assess the finish under different lighting to ensure even coverage. Reseal your floor every 1 to 2 years, depending on usage and wear. Remember, too much sealant can lead to an uneven surface, which may result in a slippery floor.
Investing time in these finishing touches maintains not just the look but also the performance of your Click Lock vinyl planks. Don't overlook the importance of a little extra care, as this can make a significant difference in your flooring’s lifespan.
: Click lock vinyl planks are easy-to-install flooring that requires no glue or nails. They simplify DIY projects.
Clean the tile surface thoroughly. Remove dust and debris, then inspect for cracks. Repair any damage before laying planks.
Thicker planks, between 4mm to 8mm, offer better stability and sound absorption. Ensure your existing floor is level.
Regular maintenance includes sweeping weekly and mopping occasionally. Focus on high-traffic areas to prevent wear.
Sealing protects against stains and scratches. Reseal every 1 to 2 years for long-lasting performance and appearance.
Avoid installing on uneven surfaces. Check door heights to prevent blockage and ensure the subfloor is in good condition.
Use floor mats at entrances to minimize dirt and moisture. This simple step helps maintain the flooring's integrity.
Installation time can be reduced by 50%, making it quick for both professionals and DIY enthusiasts.
Yes, most flooring problems stem from poor care. Regular cleaning prevents wear and keeps your floor looking new.
Gaps may indicate an uneven subfloor. Inspect the surface and consider corrective measures to prevent future wear.
When considering how to install click-lock vinyl planks over tile, it is essential to start by understanding the characteristics and benefits of click-lock vinyl flooring. This easy-to-install option can transform a space while providing the durability necessary for high-traffic areas. The preparation phase is crucial; ensure your tile floor is clean and level to enhance the longevity of your new flooring.
Gathering the right tools and materials is the next step, including a utility knife, measuring tape, and spacers. The step-by-step installation process involves laying the planks while ensuring proper alignment and fitting. Finally, sealing and maintaining your new floor is important to preserve its appearance and functionality. With these guidelines, you'll be well-equipped to successfully install click-lock vinyl planks over tile and enjoy a refreshed home environment.

Prairie Floor