Squeaky hardwood floors can turn a quiet hallway into a daily reminder of hidden movement. The sound may come from loose nails, shifting boards, gaps beneath the subfloor, or seasonal moisture changes. Finding the real cause matters more than applying a quick fix. Otherwise, the squeak may return within weeks.
Brett Miller, vice president of Technical Standards at the National Wood Flooring Association, explains, “The key to fixing a squeak is finding the source of the movement.” That principle guides this 2026 repair guide. It focuses on practical inspection, careful fastening, and methods that protect the visible wood surface. You may need a flashlight, a helper walking above, and access below the floor. Small details matter. Mark the loudest spot with painter’s tape. Listen near walls, doorways, and heating vents.
Some repairs are simple. Others are not. A loose floorboard might respond to a trim screw, while a damaged joist may require professional evaluation. Do not force a screw through finished flooring without checking for pipes, wiring, and radiant-heating components. That mistake can create a larger problem.
This guide explains How to fix squeaky hardwood floorboards using realistic tools and measured steps. It also recognizes an uncomfortable truth: not every squeak disappears completely. Wood expands, contracts, and moves with the building. Patience helps. So does honest diagnosis. If the floor feels soft, uneven, or visibly separated, contact a qualified flooring professional before attempting repairs. Their experience can prevent cosmetic damage and reveal structural concerns that a surface-level fix may miss.
Understanding Why Hardwood Floorboards Squeak
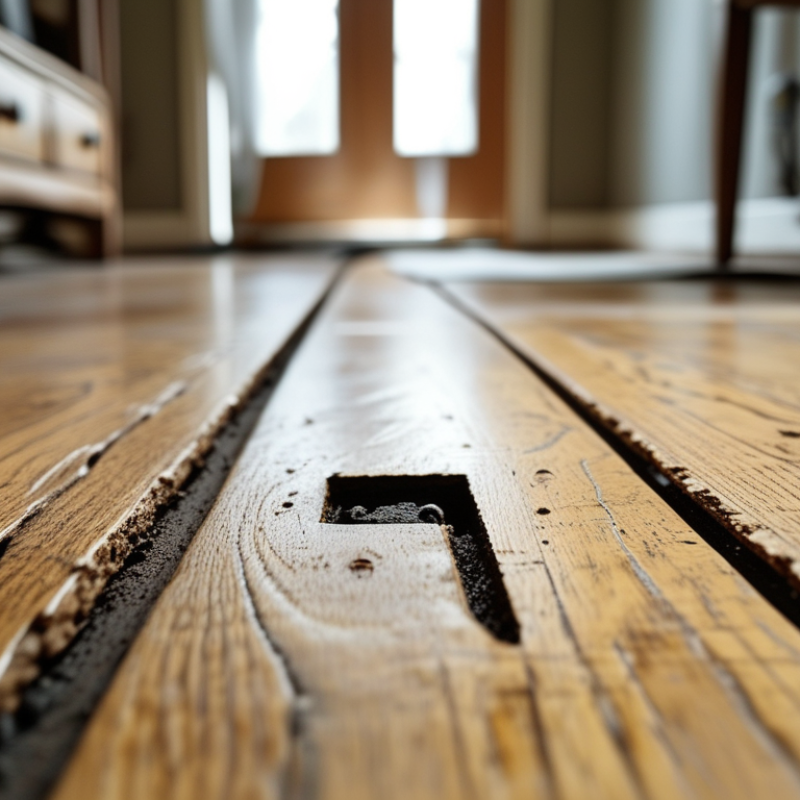
Squeaky hardwood floorboards usually move slightly against nearby materials. That friction can occur between boards, nails, screws, or the subfloor. Seasonal humidity often makes the movement more noticeable. The National Wood Flooring Association recommends maintaining indoor relative humidity between 30% and 50%. Outside that range, wood may shrink, swell, or develop small gaps.
The USDA Forest Products Laboratory’s Wood Handbook explains that wood continuously exchanges moisture with surrounding air. This response changes its dimensions, even after installation. A dry winter can pull boards away from fasteners. A humid summer can press them tightly together. The sound may come from one loose joist connection, not the entire floor. Check carefully.
In practice, I locate the squeak by walking slowly across the room. A second person can listen below, if the crawlspace is accessible. Look for exposed nails, subfloor gaps, or movement near walls. Do not assume every squeak needs more nails. Extra fasteners can create new stress or visible damage. The imperfect part is diagnosis: sound travels through wood, so the loudest spot may not be the true source. A moisture meter, flashlight, and simple floor map can reveal patterns that casual inspection misses. Builders’ technical guidance also emphasizes checking subfloor fastening before attempting cosmetic repairs.
| Common Cause | Typical Signs | Recommended Fix | Best Access Point | Difficulty | Expected Result | Important Consideration |
|---|---|---|---|---|---|---|
| Seasonal wood movement | Squeaking becomes more noticeable during dry winter months or after indoor humidity changes. | Maintain indoor relative humidity at approximately 30%–50% and allow the flooring to acclimate naturally. | Room interior | Easy | May reduce minor movement-related noise over several weeks. | Do not add excessive moisture; high humidity can contribute to cupping, swelling, and mold growth. |
| Loose or inadequate subfloor fastening | A board squeaks when stepped on because it moves against the subfloor or nearby fasteners. | Locate the exact squeak and reinforce the subfloor with suitable screws or flooring fasteners where appropriate. | From below, if accessible; otherwise from above | Moderate | Often provides a durable reduction when the movement is correctly identified. | Fasteners must avoid plumbing, electrical wiring, and visible damage to the finished floor. |
| Friction between adjacent boards | The noise is a sharp creak caused by boards rubbing against one another as they flex. | Work a small amount of dry powdered lubricant into the open joint, then remove all surface residue. | From above | Easy | Can provide temporary or moderate noise reduction for minor surface friction. | Test in an inconspicuous area first and avoid products that leave an oily film or create a slipping hazard. |
| Gaps between the subfloor and joists | The floor squeaks over a broader area, especially near structural framing, and feels slightly flexible. | Install properly fitted shims or an approved construction adhesive from below to reduce the gap. | From below | Moderate | Can significantly reduce movement when the gap is small and clearly identified. | Overdriving a shim can lift the subfloor and create new ridges or squeaks. |
| Loose nails or fasteners | A localized squeak occurs when a nail or fastener shifts as the board is loaded. | Replace or supplement the loose fastener with a suitable flooring screw or repair fastener. | From above or below, depending on floor construction | Moderate | Usually effective when the loose fastener is the primary source of movement. | Countersink and fill any visible repair point to preserve the floor’s appearance. |
| Insufficient blocking or joist movement | Squeaks repeat along a line or occur across a wider section of flooring. | Inspect the framing and add appropriate blocking or structural reinforcement where necessary. | From below or through an accessible crawl space | Professional | May address recurring noise caused by movement in the supporting structure. | Structural alterations should be evaluated carefully because joists may contain utilities or require engineering judgment. |
| Damaged, warped, or deteriorated flooring | The board is visibly cracked, cupped, loose, or soft, and the squeak persists after fastening. | Remove and replace the affected board or repair the damaged subfloor after identifying the moisture source. | From above | Professional | Provides the most reliable result when material failure is the underlying problem. | Investigate leaks, condensation, or excessive humidity before installing replacement material. |
| Unstable transitions or trim | Noise occurs near thresholds, stair edges, baseboards, or floor-to-floor transitions. | Secure the transition or trim and check whether it is pressing against the flooring or subfloor. | From above | Easy | Can eliminate localized rattling or rubbing sounds. | Allow appropriate expansion space around the flooring; trim should not tightly restrict natural movement. |
| Safety note: Before drilling, screwing, cutting, or reinforcing from below, check for electrical wiring, plumbing, ducts, insulation, and structural components. Persistent, widespread, or moisture-related squeaks should be assessed by a qualified flooring or building professional. | ||||||
: Boards may rub against nearby boards, nails, screws, or the subfloor. Seasonal moisture changes can increase this movement. The sound is friction.
Yes. Dry winter air can shrink boards away from fasteners. Humid summer air can press boards tightly together. Keep indoor humidity near 30–50%.
Not necessarily. One loose joist connection may create the noise. Sound can travel through wood, so the loudest spot may mislead you. Check carefully.
Walk slowly across the room and mark noisy areas on a simple floor map. Another person can listen below, if the crawlspace is safely accessible. Use a flashlight and moisture meter.
No. Extra fasteners may create stress or visible surface damage. Inspect subfloor gaps, exposed nails, thresholds, and nearby walls first. My first guess was wrong once.
Maintain stable humidity between 30% and 50%. A small hygrometer can check rooms near kitchens, basements, and exterior doors. Do not guess.
Vacuum weekly with a soft floor attachment to remove grit. Grit can act like sandpaper inside moving joints. Use a barely damp cloth, never a soaked mop.
Consider professional help when squeaking persists after moisture control and basic inspection. Record the location and timing before using filler or fasteners. That information can prevent unnecessary damage.
Squeaky hardwood floorboards are usually caused by movement between the boards, subfloor, joists, or fasteners as the floor responds to changes in weight, temperature, and humidity. Learning how to fix squeaky hardwood floorboards begins with carefully locating the exact source of the noise. Walk across the floor slowly, mark the noisy areas, and inspect for loose boards, gaps, uneven support, or exposed fasteners before choosing a repair method.
Minor squeaks can often be corrected from above by securing loose boards, filling small gaps, or adding suitable fasteners without removing the flooring. If the underside of the subfloor is accessible, repairs may include reinforcing the connection between the subfloor and joists, adding support blocks, or tightening existing fasteners. Long-term prevention depends on maintaining stable indoor humidity, cleaning spills promptly, checking for movement, and addressing loose or damaged areas early. With accurate inspection and appropriate maintenance, hardwood floors can remain quieter, stronger, and more comfortable over time.

 Prairie Floor